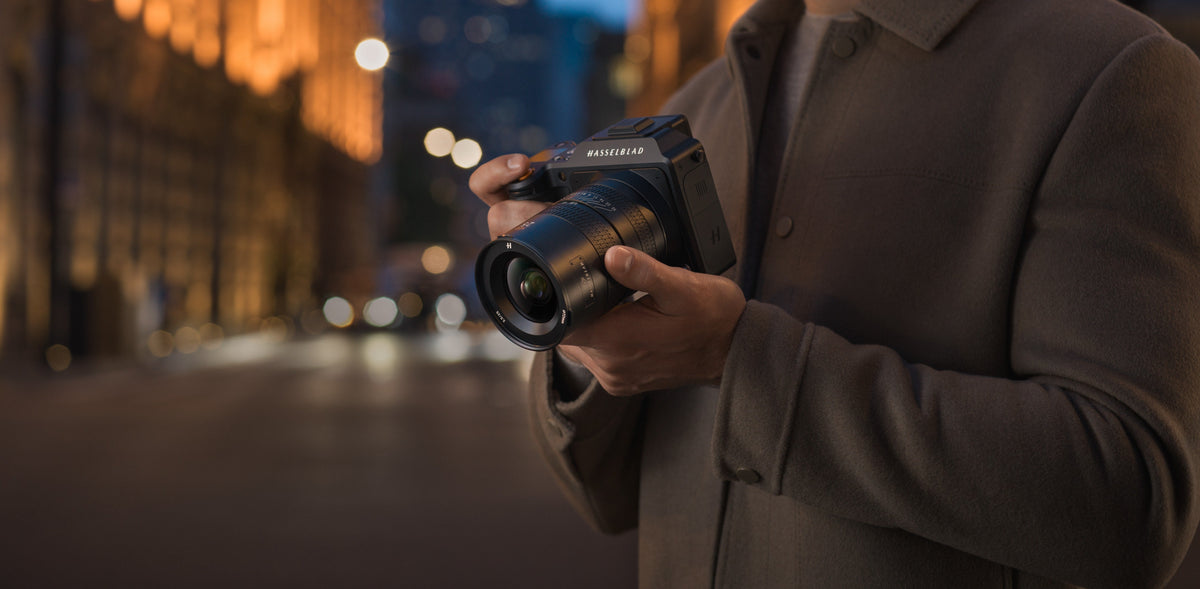
Bokeh is the visual character of out-of-focus areas in a photograph, including the shape of blurred highlights, the definition of their edges, and the way background details dissolve into color and tone. The amount of blur depends on aperture, focal length, focusing distance, and background placement; its appearance also depends on lens design.
To shape bokeh intentionally, first decide what should remain sharp. Distance, framing, and light then determine how much of the surrounding scene remains recognizable and what visual presence it carries.
Bokeh vs. Background Blur vs. Depth of Field: What's the Difference?
Bokeh, background blur, and depth of field describe distinct properties of focus. Depth of field concerns the range of acceptable sharpness; background blur concerns the loss of detail behind the focused subject; bokeh concerns how out-of-focus areas are rendered, including those in the foreground.
|
Term |
What it describes |
What to look for |
|
Bokeh |
The rendering of out-of-focus areas, including foreground blur |
Soft or outlined highlights, smooth or busy textures, and transitions between tones |
|
Background blur |
The degree to which objects behind the focused subject lose definition |
Whether leaves, signs, or buildings remain recognizable |
|
Depth of field |
The distance range that looks acceptably sharp at a given viewing size |
Whether only an eye, an entire face, or both the person and nearby surroundings look sharp |
Imagine a portrait taken with a row of trees behind the person. The face is in focus; the distant leaves are not. The depth of field determines which parts of the person and scene look sharp. The amount of background blur determines how recognizable the leaves remain. Bokeh describes whether those blurred leaves appear as gentle patches of color, busy overlapping edges, or bright, outlined spots.
A point of light outside the focus plane is spread over an area rather than being recorded as a sharp point. Photographers often call the resulting spot a blur circle or circle of confusion. Many overlapping blur circles contribute to the look of an out-of-focus background. Bright spots make their shape easy to see, but bokeh also exists in blurred textures without obvious circular highlights and in objects in front of the focus plane.
A shallow depth of field makes these differences easier to notice, but the appearance of the out-of-focus areas remains a separate creative consideration.
What Factors Control the Amount of Background Blur?
The amount of background blur depends on aperture, focus distance, focal length, subject magnification, and the distance between the focused subject and the background. Changing one variable often changes framing or sharpness elsewhere, so meaningful comparisons keep the other conditions as consistent as possible.

@MARCUSM脴LLERBITSCH
Aperture, Focus Distance, and Background Separation
A wider aperture, indicated by a smaller f-number, usually makes out-of-focus details appear more blurred when the lens, camera position, and focus distance stay the same. For example, comparing f/2.8 and f/5.6 on the same lens and from the same spot generally reveals larger blur circles at f/2.8. Adjust exposure separately when comparing images at similar brightness.
The f-number is not a universal bokeh score. An f/1.8 portrait can still show a recognizable wall if the person is standing directly against it. Move the person away from that wall, keep focus on the eyes, and the wall falls farther outside the focus plane. More separation usually makes its texture less distinct, although the change is not unlimited as the background becomes very distant.
Moving the camera closer to the subject can also increase background blur by increasing subject magnification. That is particularly noticeable in close-up photography. But a smaller focus distance also narrows the region that looks sharp. When photographing a face at a large aperture, one eye may be in focus while an ear or the far eye appears soft. If the entire face matters, stopping down slightly can improve the photograph even if the background becomes less blurred.
These are different controls. Subject-to-background distance changes how far the background lies from the focus plane. Camera-to-subject distance affects magnification, framing, and the sharp range around the subject. Moving the camera closer does not automatically increase the physical space behind the subject.
Focal Length, Framing, and Sensor Format
Focal length changes the field of view and image magnification, but it does not change perspective when the camera stays in the same position. A longer lens can make background details occupy more of a tightly framed image. The compressed perspective often associated with telephoto portraits comes from choosing a more distant camera position to keep the subject similarly framed.
Consider two comparisons using a 35mm and an 85mm lens on the same camera:
-
From the same camera position, the 85mm lens produces a tighter frame. The subject and background occupy more of the image, and out-of-focus details may appear larger. The perspective relationship between near and distant objects does not change.
-
If you step backward with the 85mm lens until the subject fills the same proportion of the frame as with the 35mm lens, the camera position changes. Distant objects can then appear larger relative to the subject, changing the composition and the apparent background compression.
These tests are not interchangeable. To compare blur itself, note the aperture, focus distance, subject size in the frame, and background position rather than attributing every visible difference to focal length alone.
Sensor format also needs a consistent comparison. With the same lens, camera position, and focus setting, a smaller sensor crops a narrower area of the projected image. To achieve the same framing across formats, photographers often use different focal lengths or camera distances. Under matched framing, viewing conditions, and the same f-number, a larger format commonly allows a shallower depth of field. That does not mean the sensor independently determines whether the out-of-focus highlights look smooth or busy.

@MARCUSM脴LLERBITSCH
Why Does Bokeh Look Different Between Lenses?
Two lenses can produce similarly strong background blur yet render it differently because of aperture geometry, optical aberrations, and how light passes through the lens away from the image center. These differences become easiest to see in small, bright highlights and fine background textures.
Aperture Shape and Out-of-Focus Highlights
Aperture shape affects the outlines of out-of-focus highlights, particularly when the lens is stopped down. At or near maximum aperture, the effective optical opening may appear relatively round. As it narrows, the diaphragm can produce rounded or angular polygons instead of circles.
Blade count matters, but blade curvature matters too. A diaphragm with rounded blades can preserve a more circular opening at intermediate settings than one with straight blades. Neither the blade count nor the highlight shape alone establishes the overall quality of the bokeh.
Highlights near the edge of the frame may stretch into oval or cat's-eye shapes. This can happen when the effective opening is partly restricted for off-axis light, a form of optical vignetting. Try moving a small background light from the center toward a corner of the frame while keeping focus and exposure consistent. The change in shape reveals an aspect of the lens's rendering that a center-only test would miss.
Optical Aberrations and Bokeh Rendering
Optical aberrations affect the brightness distribution and texture of out-of-focus areas, even when their blur circles are similar in size. Spherical aberration, for example, can shift the balance of brightness between the center and rim of a defocused highlight. Bright outlines can make fine branches or small lights look more prominent, while a gentler transition can give those elements a quieter presence.
Spherical aberration can also render blur in front of the focus plane differently from blur behind it. A lens with particularly soft background highlights will not necessarily produce an identical look in its blurred foreground. This is one reason a photo made through nearby leaves can feel different from a photo with those leaves behind the subject.
Other identifiable characteristics include:
-
Onion-ring bokeh: concentric texture inside a blurred highlight, which can be associated with fine surface structures from some aspherical-element manufacturing methods.
-
Longitudinal chromatic aberration: green or magenta color fringes around some out-of-focus transitions, often differing on opposite sides of the focus plane.
-
Strong highlight outlining: bright rims that can turn a background of small lights or fine branches into conspicuous shapes.
These features are not interchangeable, and not every lens exhibits them visibly. Their prominence depends on aperture, the scene, and where the light falls in the frame. An unusual rendering can be a deliberate visual choice rather than a flaw to remove.

@Enlighten
Evaluating Bokeh Character
Evaluate bokeh by how it contributes to the photograph, rather than blur strength alone. Examine the background directly behind the subject, small bright highlights, and fine lines such as twigs or distant lettering. These details show whether the lens renders a calm transition or produces patterns that compete for attention.
If you compare two lenses, give them a fair test. Use a comparable subject size, background, lighting direction, and output size; record the actual focal length, aperture, and camera distance. You may not be able to hold every variable identical, especially across different focal lengths, so the point is to understand the trade-off rather than declare a winner from unlike frames.
A smooth, unobtrusive background often suits a close portrait. Distinctive rings or bright-edged highlights may work well in an expressive night scene. What matters is whether their visual weight helps the picture.
How Can You Create and Improve Bokeh in Your Photos?
To create bokeh deliberately, focus on the subject, separate it from the background, choose an aperture that supports the desired sharpness, and compose with out-of-focus colors or highlights. The result should preserve the subject's important detail while giving the surrounding scene the intended visual weight.
A Practical Bokeh Photography Setup
Begin with the detail you want sharp, then select a background and aperture that support the composition. Use the following sequence to establish a consistent starting point.
-
Choose the detail you want sharp. For a close portrait, that is often the nearer eye. For a small object, it may be a label, edge, or texture that tells the viewer what matters.
-
Find a background with room behind the subject. Start with distant foliage, lights, or a simple wall several feet behind the person rather than directly against them. Avoid bright lines that seem to pass through the subject's head.
-
Select Aperture Priority (A or Av) or Manual mode. Start with a relatively wide aperture your lens supports. There is no single required f-number; f/2.8, f/4, or even f/5.6 can work depending on magnification and background distance.
-
Set the framing and focus distance. Move the camera for the perspective you want, and adjust the focal length to frame the subject without crowding them or exceeding the lens's focusing range.
-
Protect subject detail and exposure. Use a shutter speed fast enough for any subject or camera movement, then set ISO accordingly or use Auto ISO where appropriate. Shutter speed controls motion blur, and shutter speed and ISO help manage exposure. Neither changes the optical size of out-of-focus highlights. In bright light, a wide aperture may call for a faster shutter or an ND filter if the shutter limit is reached.
-
Inspect a full-size image. Look at the intended focus point, the transition from sharp to soft, and any bright shapes that compete with the subject. Adjust one variable at a time before taking another frame.
For round or glowing bokeh highlights, include small points of light well behind the focus plane: distant storefront lights, string lights, or sunlight filtering through leaves. Their shape and size depend on focus, aperture, the lens, and where they appear in the frame. A plain wall may blur beautifully but will not display obvious bokeh balls because it lacks distinct light points.
A controlled exercise is to fix the camera, subject, focus, and lens position, then photograph the same scene at f/2.8, f/4, and f/5.6 if the lens permits. Compensate exposure with shutter speed or ISO. Compare the subject's sharp region and the size and shape of background highlights. Next, return to one aperture and increase only the distance between the subject and background. These two tests separate an aperture change from a change in scene geometry.
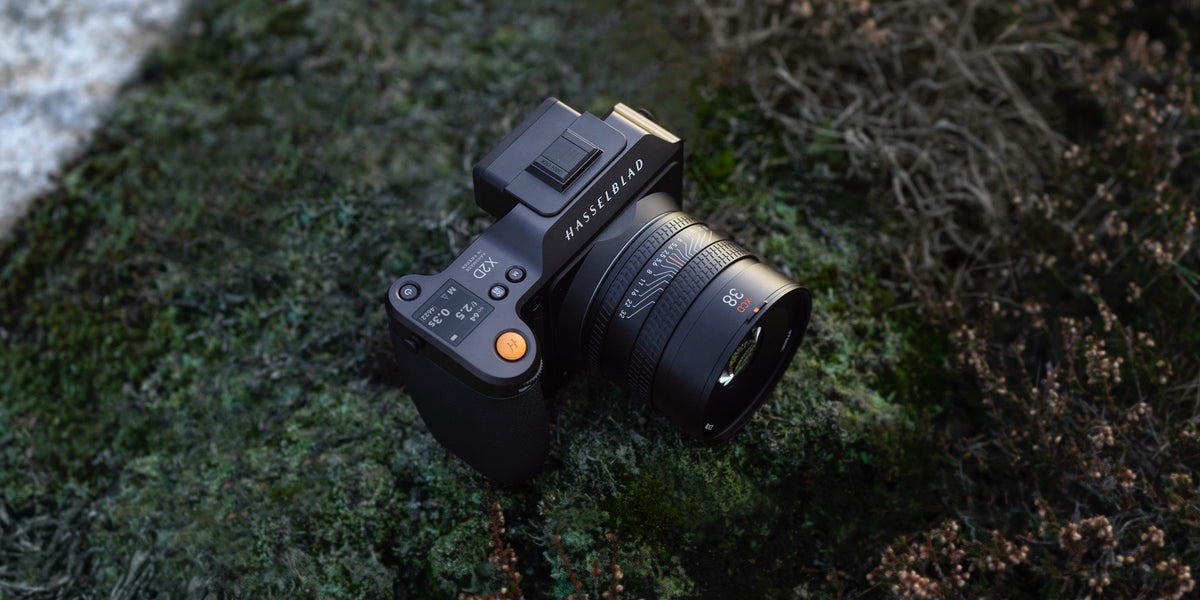
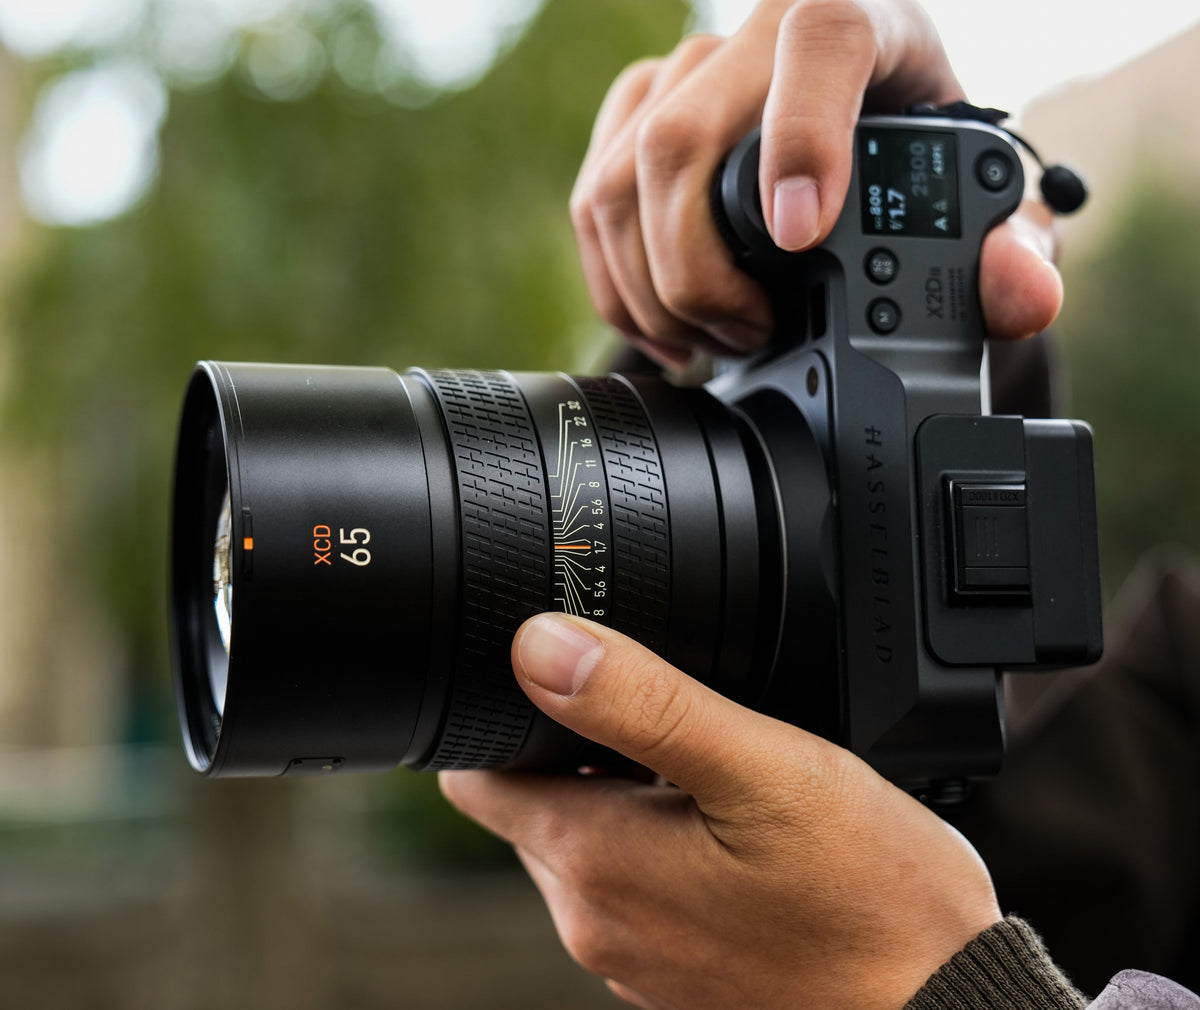
For a sunlit portrait that combines a softly rendered background with fill flash, a leaf shutter can give the photographer more control over ambient exposure. The Hasselblad XCD 2,8-4/35-100E synchronizes flash throughout its leaf-shutter speed range, up to 1/4000 second. A faster shutter speed can reduce the contribution of daylight while the photographer uses the aperture to shape depth of field. The lens has a maximum aperture of f/2.8 at its wide end and f/4 at its telephoto end.
[cta: https://store-na.hasselblad.com/products/xcd-2-8-4-35-100e]
Creating Bokeh With a Kit Lens
A kit zoom can create visible bokeh by framing a comparatively close subject against a more distant background, even when its maximum aperture is modest. The practical advantage is being able to work with distance and framing before considering a different lens.
Suppose you have an 18-55mm f/3.5-5.6 zoom. Try the longer end, around 55mm, and use its widest available aperture at that focal length, which may be f/5.6. Frame a person or a flower from a comfortable focusing distance, then position the background well behind the subject. Compare that with a frame in which the same subject stands close to a wall. The point is to see how much separation the scene itself contributes, not to promise a particular blur strength at f/5.6.
A zoom with a variable maximum aperture may offer a smaller opening as you zoom in. Moving from 18mm to 55mm does not mean you still have access to f/3.5. Watch the aperture value shown by your camera, and decide whether the tighter framing and larger background features give the result you prefer.
You can often improve the image further by moving a few steps sideways to replace a busy background with distant foliage or a smoother patch of color. If the subject begins to look distorted or the framing becomes uncomfortable, do not keep moving closer simply to force more blur. Adjust the background or composition instead.
Troubleshooting Common Bokeh Problems
To correct an unsatisfactory bokeh effect, first distinguish insufficient background blur from inaccurate focus, motion blur, or distracting highlight rendering. Each calls for a different adjustment, rather than a lens replacement as the first step.
|
What you see |
Likely explanation |
First adjustment to try |
|
Background remains recognizable at a wide aperture |
Background is close to the focused subject, or subject magnification is low |
Increase subject-to-background separation while preserving a useful composition |
|
Face or product detail is soft |
The focus point missed, depth of field is too shallow, or the subject moved |
Check which plane is sharp; refocus or stop down, and increase shutter speed if motion is visible |
|
Background is blurry but distracting |
Bright outlines or high-contrast textures remain prominent |
Shift your shooting angle, change the background, or alter the placement of highlights |
|
Blurred lights remain tiny |
The light points are not far enough out of focus or are small in the frame |
Change their distance from the focus plane or reframe so they occupy more visible space |
|
Highlights look polygonal |
The stopped-down diaphragm shape is visible |
Compare a wider aperture while keeping essential subject details in focus |
|
Highlights become cat's-eye shapes at the edges |
Off-axis optical vignetting changes their apparent shape |
Reposition the lights in the frame or compare a smaller aperture |
For example, if a portrait made at f/1.8 has a sharp subject but a detailed background, adjusting shutter speed or ISO will not solve that optical problem. Move the subject away from the background or change the framing. If the eyes are soft but another part of the face is sharp, improve focus placement or stop down. If nothing is consistently sharp and the blur has a directional streak, investigate camera or subject movement instead.
For a moving portrait subject, continuous autofocus helps the photographer work with a shallow depth of field while adjusting the composition. On the Hasselblad X2D II 100C, AF-C can track a person when human subject detection is enabled. This function is supported with the XCD 2,8-4/35-100E when the lens firmware is updated to the latest version. AF-C is not available in electronic shutter mode.
[cta: https://store-na.hasselblad.com/products/x2d-ii-100c]
When Should You Use More or Less Background Blur?
Use stronger background blur to separate a subject from distracting detail; retain more background definition when the surroundings carry essential context. The aperture, focus distance, and framing should serve the image's subject and narrative rather than a preference for maximum blur.
The right amount varies with the picture's purpose:
|
Photography situation |
What the background contributes |
A useful creative choice |
|
Close portrait |
Mood, color, separation from nearby detail |
Soften distracting elements while keeping the important parts of the face sharp |
|
Environmental portrait |
Place, occupation, relationships, or context |
Retain recognizable surroundings even if the subject remains the focus |
|
Product or still-life photography |
Shape, material, label, or construction details |
Blur competing objects without losing the features a viewer needs to inspect |
|
Street or documentary photography |
Evidence of place, interaction, timing, and story |
Keep enough visual context for the moment to make sense |
|
Close-up or macro photography |
Color and shape around a very small subject |
Protect the crucial detail; high magnification already produces a narrow sharp region |
Consider photographing a chef in a restaurant. A very soft background can make the portrait intimate, but a moderately recognizable kitchen may say more about the person. Neither approach is inherently more photographic. Choose the one that carries the intended story.
The same judgment applies to lens character. A brightly outlined row of lights may add energy to a night portrait, while a quiet, low-contrast background may better suit a delicate flower. If the bokeh becomes the first thing viewers notice when the picture is meant to be about the subject, reduce its visual pull by reframing, changing the background, or allowing more detail to remain in focus.

@Enlighten
Frequently Asked Questions
Can You Create Bokeh With a Smartphone?
Yes. Smartphones can produce natural optical bokeh at close focusing distances, and many also use computational portrait modes to increase the apparent separation between subject and background. The simulated result depends on a depth estimate, so fine hair, glasses, or overlapping objects may reveal processing artifacts. For a more natural look, start with a close subject and a background farther away, then adjust the software effect only as much as the composition needs.
Can You Create Bokeh With a Wide-Angle Lens?
Yes. A wide-angle lens can render a soft background when it focuses close to the subject and the background is sufficiently distant. Compared with a longer focal length, a wide-angle composition usually includes more of the surroundings, so background blur may be less prominent at typical portrait distances. Use a nearby foreground subject and a distant backdrop to explore the effect without sacrificing the lens's wider sense of space.
How Can You Keep Two People Sharp With a Blurred Background?
To keep two people sharp against a blurred background, position both faces at a similar distance from the camera, focus on the important facial plane, and choose an aperture that keeps both people acceptably sharp. When one person stands noticeably farther back, stopping down may be necessary. Place the background farther behind the group to preserve separation without relying on an extremely shallow depth of field.
How Can You Create Foreground Bokeh?
Foreground bokeh is created by focusing beyond a nearby element such as leaves, fabric, or small lights. The foreground falls outside the focus plane and can become a soft frame around the sharp subject. Adjust your shooting angle so the blurred shapes add depth without covering the face or other details that carry the photograph.
Can You Add Bokeh in Post-Processing?
Yes. Editing software can simulate depth-dependent blur and transform bright points into defocused highlights, although the result depends on accurate separation of the subject and its surroundings. A uniform background blur often looks less convincing around hair, glass, and overlapping objects. Work with the scene's depth and inspect those edges at full size before settling on the result.