Long exposure photography records movement over time instead of freezing a single instant. A slower shutter can turn moving water into continuous lines, extend headlights across a city street, or reveal the direction of clouds passing through a landscape.
The technique is not defined by one specific shutter speed. A quarter-second exposure may be long enough to show movement in fast water, while a quiet sky may require several seconds or minutes before its motion becomes visible.
A successful long exposure depends on a controlled relationship between time, light, and stability. The subject should move in a way that supports the composition, while the camera remains still enough to preserve the details that are meant to stay sharp.
What Is Long Exposure Photography?
Long exposure photography uses a shutter speed that is slow enough to record a subject’s movement during the exposure.
The shutter may remain open for a fraction of a second, several seconds, or several minutes. The appropriate duration depends on how quickly the subject moves and how much movement the photographer wants to reveal.
This creates an important distinction between two types of motion. Subject movement may be intentional. Camera movement usually is not.
Water, clouds, traffic, and people can become visual records of time. Buildings, rocks, trees, and other stationary elements provide structure. Their relative sharpness gives the moving areas context and makes the passage of time visible.
Long exposure is therefore more than a method for making water look smooth. It can simplify a busy scene, connect separate moments, or show a form of movement that the eye cannot observe in a single instant.
The technique can be used in daylight, at dusk, or at night. An ND filter may be needed when the available light is too bright for the intended shutter speed. In lower light, the camera may already be able to reach that shutter speed without additional filtration.
How Do You Choose a Shutter Speed for Long Exposure Photography?
Choose the shutter speed according to the speed of the subject and the amount of movement you want the image to show.
There is no universal setting for water, clouds, people, or traffic. Two subjects of the same type can move at very different speeds. Distance, focal length, direction of movement, and composition also affect how that motion appears.
Begin by deciding what the moving element should look like. A short slow exposure may preserve texture and recognizable detail. A longer exposure may join individual movements into lines, soft areas, or continuous tonal fields.
The following ranges are practical starting points rather than fixed rules.
|
Moving Subject |
Starting Shutter Range |
Possible Visual Result |
|
Fast-moving water |
1/4 to 1 second |
Visible flow with some retained texture |
|
Waterfalls and waves |
1 to 10 seconds |
More continuous movement and softer water |
|
Calm water |
10 seconds to several minutes |
Reduced surface texture and smoother reflections |
|
Walking people |
1/4 to 2 seconds |
Soft figures or visible movement trails |
|
Moving crowds |
Several seconds or longer |
Reduced individual detail and a simplified scene |
|
Traffic at night |
2 to 30 seconds |
Headlight and taillight trails |
|
Moving clouds |
5 seconds to several minutes |
Directional movement that varies with wind speed |
These ranges should be treated as a first test. Review the image and ask whether the movement still has enough structure.
Water can become visually flat when the exposure is much longer than the scene requires. Clouds may show little change when the exposure is too short. People may appear as distracting partial shapes rather than clear figures or a clean absence.
The shutter speed should serve the composition. A longer exposure is not automatically more effective.
Build the Exposure Around Movement
Once the intended movement is clear, select an aperture that provides the required depth of field and useful lens performance. Then begin near the camera’s native base ISO when the lighting and subject allow.
Avoid choosing the smallest available aperture only to force a longer shutter speed. Very small apertures can introduce diffraction, which may reduce fine contrast even when the camera is stable.
If the scene is still too bright at the selected aperture and ISO, an ND filter can reduce the incoming light and make the intended shutter speed possible.
Use Bulb or Time Mode for Longer Exposures
Bulb or Time mode may be needed when the intended exposure extends beyond the camera’s standard shutter-speed range.
In Bulb mode, the shutter usually remains open while the release is held or while a compatible remote control maintains the exposure. In Time mode, one action typically starts the exposure and another ends it.
The exact operation varies by camera. A remote release or camera-control application can help avoid physical contact during a long exposure.
Longer exposures also require attention to changing light. During sunrise, sunset, or fast-moving weather, the brightness of the scene may shift before the exposure is complete. The calculated time may need to be adjusted between frames.

@Benjamin Everett
When Do You Need an ND Filter for Long Exposure Photography?
You need an ND filter when the scene is too bright to reach the intended shutter speed without overexposing the image.
An ND filter reduces the amount of light entering the lens without intentionally changing the scene’s color. It allows the photographer to extend the exposure while keeping the chosen aperture and ISO within a useful range.
An ND filter may not be necessary at night, during blue hour, in a dark interior, or when photographing light trails in low ambient light. Always measure the exposure before adding a filter. The available light may already support the shutter speed you need.
Choose the Filter From the Base Exposure
The most reliable way to choose an ND filter is to begin with the correct exposure without one.
Suppose the camera meters the scene at 1/125 second, f/8, and the selected ISO. If the intended movement requires an exposure of about eight seconds, the shutter must remain open roughly 1,024 times longer.
That is a difference of 10 stops.
|
ND Strength |
Light Reaching the Sensor |
Exposure-Time Multiplier |
Example From 1/125 Second |
|
3-stop ND |
1/8 |
×8 |
About 1/15 second |
|
6-stop ND |
1/64 |
×64 |
About 1/2 second |
|
10-stop ND |
1/1024 |
×1024 |
About 8 seconds |
The theoretical calculation is:
Filtered exposure time = Base exposure time × 2 to the power of the ND stop value
For field calculations, photographers sometimes treat a 10-stop filter as a multiplier of about 1,000. The exact theoretical multiplier is 1,024.
The calculated result remains a starting point. Filter density may differ slightly from its marked value, and the light can change while the filter is being installed. Check the histogram and the important highlight areas after the exposure.
Select 3, 6, or 10 Stops According to the Scene
A 3-stop filter provides a moderate extension. It can be useful when the scene is only slightly too bright or when the desired exposure remains below one second.
A 6-stop filter produces a more substantial change and can move an exposure from a fast handheld setting into the range where water, people, or other moving subjects become visibly blurred.
A 10-stop filter can extend a daylight exposure into several seconds or minutes. It may be useful when the composition calls for significant smoothing or when slow-moving elements need more time to register.
The stronger filter is not necessarily the more suitable one. Excessively long exposures can remove texture that contributes to the image. They also increase the time needed to test and refine the composition.
Fixed and Variable ND Filters
A fixed ND filter provides one specified level of light reduction. It supports repeatable exposure calculations and may be preferable when consistent density across the frame is important.
A variable ND filter allows the density to be adjusted without changing filters. That flexibility can be useful when the light or intended shutter speed changes quickly.
At stronger settings, some variable filters may show uneven density or a dark cross-shaped pattern, particularly with wide-angle lenses. Fixed filters may also introduce color shifts, reflections, or darkened corners, depending on the filter, lens, and lighting.
Stacking several filters increases the total density, but each additional glass surface may add reflections, flare, color variation, or vignetting. Use only the filtration the photograph requires.

@MatsLind
How Do You Keep Long Exposure Photos Sharp?
Keep stationary details sharp by stabilizing the camera, confirming focus before the exposure, and releasing the shutter without adding movement.
A tripod is often the most controlled form of support, but simply placing a camera on one does not guarantee stability. The tripod, head, camera, lens, ground, and surrounding environment operate as one system.
Place the tripod on firm ground when possible. Extend the thicker leg sections first and avoid raising the center column higher than necessary. Lock the head carefully and check that a heavy lens is not pulling the camera away from the intended composition.
Remove or secure anything that can move in the wind. A loose camera strap can transfer repeated vibration to the body. On sand, snow, wooden walkways, or bridges, the surface itself may move during the exposure.
Do not touch the camera when the exposure begins. Use a self-timer, remote release, or compatible camera-control application. A short self-timer may be sufficient in calm conditions, while a remote method provides more control for Bulb or Time exposures.
Focus before installing a strong ND filter when the filter makes the scene difficult to see. After focusing, confirm that the focus point will not change when the shutter is released. Manual focus may be helpful in some situations, but it is not a requirement for every long exposure.
Image stabilization can expand the range of shutter speeds that may be used handheld. It does not freeze subject movement, and it cannot compensate for every type of camera motion.
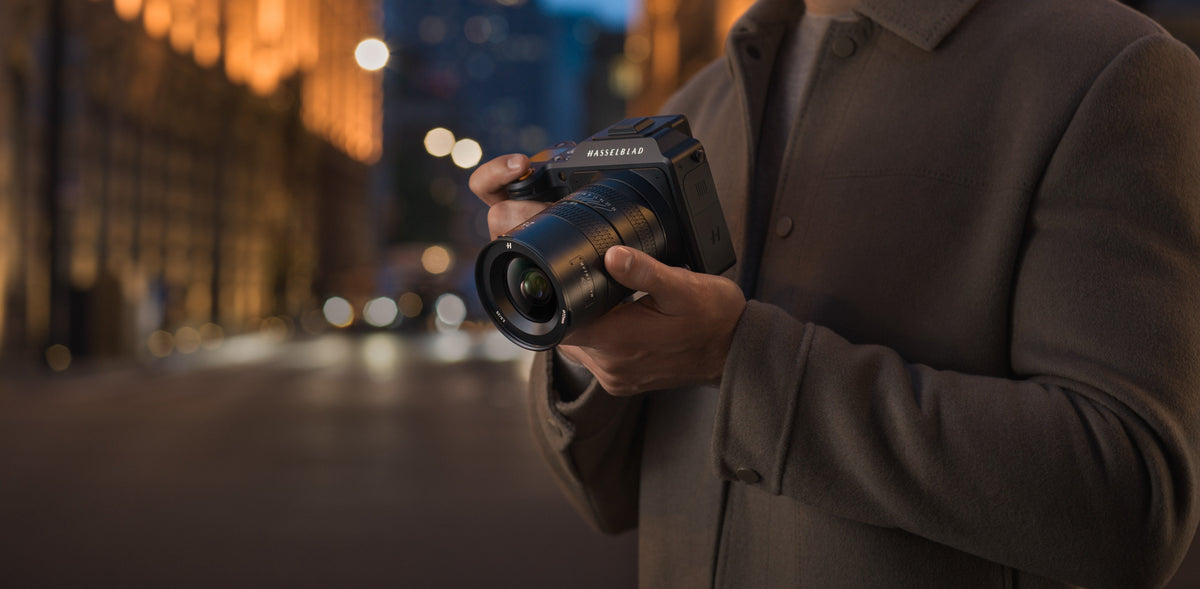
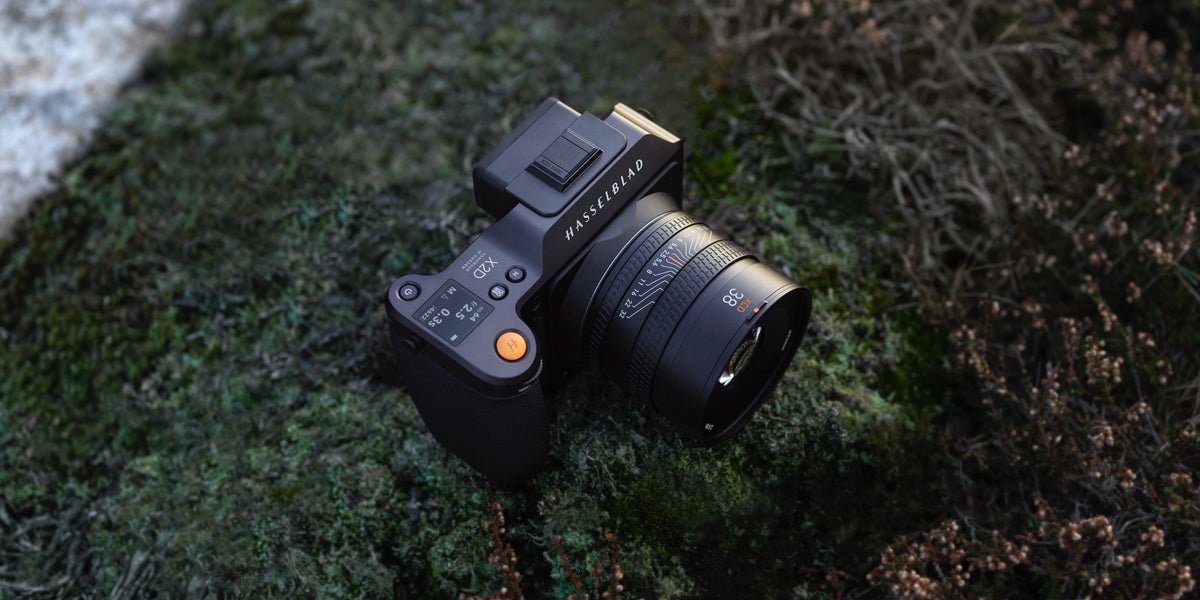
The Hasselblad X2D II 100C features 5-axis, up to 10-stop in-body image stabilization. The system supports handheld exposures lasting several seconds under suitable shooting conditions, extending the creative possibilities of slow-shutter photography when working without a tripod.
This level of stabilization gives photographers greater freedom to respond to changing light and movement while maintaining a more fluid handheld workflow. It can be particularly useful when recording the motion of water, traffic, or people while preserving clarity in the stationary elements of the composition.
[cta: https://store-na.hasselblad.com/products/x2d-ii-100c]
Handheld stabilization is useful when a tripod is unavailable or when a faster, more responsive approach serves the subject. A tripod remains more controlled when the exposure must be repeated precisely, extended for a longer duration, or compared across several filter settings.
After each exposure, magnify a stationary edge in the image. The rear display can make a slightly soft photograph appear acceptable at normal viewing size. Checking fine edges at higher magnification can reveal focus errors or movement before the light changes.
How to Take a Long Exposure Photo Step by Step
A reliable long-exposure workflow begins with the intended visual result, then builds the exposure and support around it.
-
Study the movement
Identify what will move during the exposure and what should remain still. Decide whether the image should preserve texture, show a visible trail, or simplify the moving element into a continuous form. -
Compose before adding a strong filter
Set the camera position and examine the edges of the frame. Moving subjects can occupy more space during a long exposure than they do at a single moment, so leave room for the direction of motion. -
Choose aperture and ISO
Select an aperture that supports the required depth of field and useful lens performance. Begin near the camera’s native base ISO when practical, then adjust only when the light, subject, or exposure duration requires it. -
Focus and measure the base exposure
Focus without a strong ND filter if the filter makes viewing or autofocus difficult. Record the correct unfiltered shutter speed at the chosen aperture and ISO. -
Choose the ND strength
Compare the base shutter speed with the intended exposure time. Calculate the required number of stops, then install a filter that moves the exposure into the desired range. -
Stabilize and release the shutter
Check the tripod, head, lens balance, strap, and ground. Use a timer, remote release, or camera-control application to begin the exposure without touching the camera. -
Review exposure and motion separately
Use the histogram and highlight information to evaluate brightness. Then inspect the moving subject and stationary edges at higher magnification. A technically correct exposure may still need a different shutter speed to produce the intended movement. -
Refine one variable at a time
If the movement is too subtle, extend the shutter time. If too much texture has disappeared, shorten it. Change the ND filter only when aperture and ISO should remain fixed and the current filter cannot reach the required range.
This measured approach makes the process repeatable. It also helps separate exposure problems from compositional decisions.
Common Long Exposure Problems and How to Fix Them
Most long-exposure problems come from exposure calculation, camera movement, focus, filter behavior, or heat during an extended capture.
The table below provides a practical first check.
|
Problem |
Likely Cause |
What to Check |
|
Image is too bright |
Exposure is too long, filter is too weak, or light increased |
Base exposure, ND rating, histogram, changing light |
|
Image is too dark |
Exposure is too short, filter is too strong, or light decreased |
Calculation, filter density, aperture, ISO |
|
Stationary details look soft |
Camera movement, focus error, unstable ground, or diffraction |
Tripod, head, strap, focus, aperture, wind |
|
Movement looks too weak |
Shutter speed is too short for the subject |
Extend the exposure or use a stronger ND filter |
|
Movement looks featureless |
Shutter speed is longer than the composition requires |
Shorten the exposure and restore useful texture |
|
Color shifts appear |
Filter transmission, white balance, flare, or stacked filters |
RAW file, filter cleanliness, light direction, filter stack |
|
Corners become dark |
Thick filter rings, stacked filters, or a wide field of view |
Filter mount, number of filters, focal length |
|
Noise or hot pixels increase |
Long exposure, high ISO, or sensor temperature |
Exposure duration, ISO, ambient temperature, noise reduction |
Exposure Changes During the Shot
A calculated exposure assumes that the light remains stable. That assumption may not hold during sunrise, sunset, fast-moving clouds, or artificial lighting that changes in intensity.
When the light is changing quickly, use the calculated exposure as a starting point and review each frame. A shorter test exposure can reveal whether the highlights are approaching clipping before committing to a several-minute capture.
Long Exposure Noise Reduction
Some cameras offer long exposure noise reduction. This function commonly records a second dark frame of approximately the same duration as the original exposure, then uses it to identify certain types of noise.
A two-minute photograph may therefore occupy the camera for about four minutes. The function can be useful in some conditions, but it slows the shooting sequence and does not remove every form of noise.
Whether to use it depends on exposure length, temperature, the pace of the session, and the intended post-processing workflow.
Filter Color and Reflections
A neutral density filter is intended to reduce light without changing color, but real filters may introduce a measurable shift. Strong filters and stacked systems can make the effect more visible.
Shooting in RAW preserves greater flexibility for adjusting white balance. It does not correct flare, internal reflections, or uneven density across the frame.
Clean the filter carefully and shield it from strong side light when possible. If a color shift remains consistent, it can often be addressed with a repeatable white-balance adjustment.

@Qiyi Chen Flexbody
Frequently Asked Questions
Can a Long Exposure Damage a Camera Sensor?
A normal long exposure is unlikely to damage the sensor. Greater care is needed around intense light sources, high temperatures, or direct sunlight, since concentrated light and prolonged heat may affect the camera or lens.
Should You Shoot Long Exposure Photos in RAW?
RAW is useful because it preserves more tonal and color information for white-balance correction, highlight recovery, and filter color adjustments. It does not replace accurate exposure, careful focus, or a stable camera setup.
Can You Combine Several Short Exposures Instead of One Long Exposure?
Yes. Several shorter frames can be blended to reproduce some long-exposure effects while reducing the risk of losing one extended capture. The result may differ when movement overlaps, lighting changes, or continuous motion is essential.
Final Thoughts
Long exposure photography is a way of deciding how time should appear inside a still image.
Shutter speed controls how much movement is recorded. An ND filter provides access to slower speeds when the available light is too strong. Camera stability protects the parts of the composition that need to remain clear.
The most effective exposure is not necessarily the longest one. It is the duration that preserves the right balance between motion and structure, allowing time to become part of the image without overwhelming it.