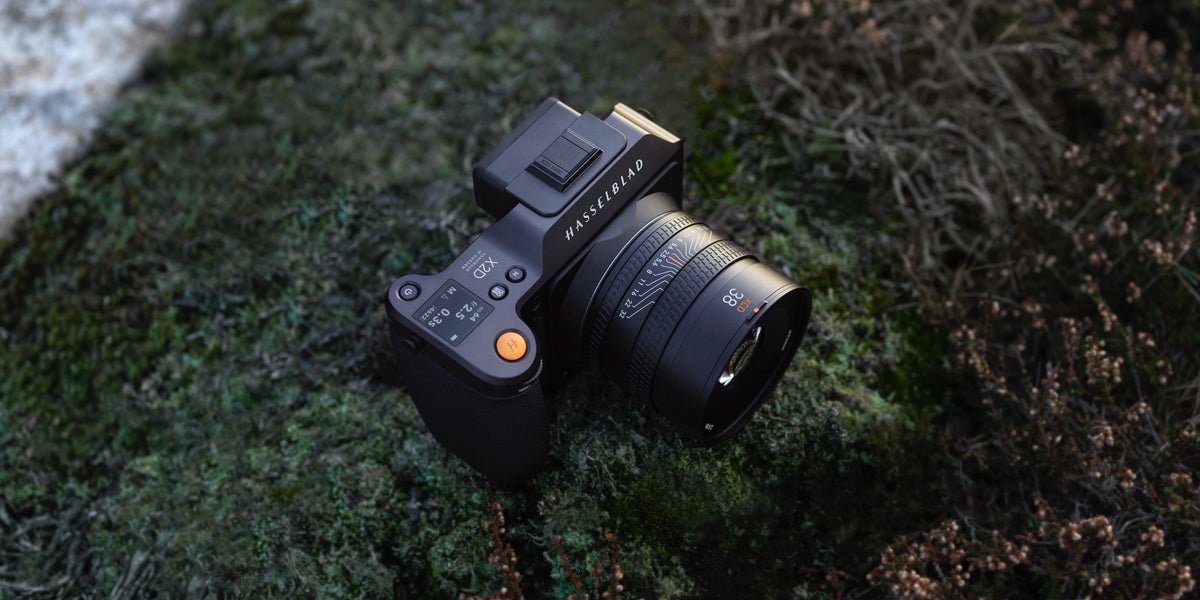
To produce sharp, detailed photos with a high-resolution camera, pair the sensor with capable optics, control camera and subject movement, place focus precisely, and choose exposure settings that suit the scene. More pixels can make optical limitations, small focus errors, and movement easier to see when an image is examined closely or reproduced at a large size.
Here is the short version before we examine each step:
-
Use a capable lens. High-resolution capture depends on optical detail and contrast across the parts of the frame that matter to the composition.
-
Keep the camera steady. An appropriate shutter speed, stable support, or image stabilization can help preserve fine detail.
-
Focus carefully. Higher resolution does not change depth of field, but it can make focus placement and transitions between sharp and unsharp areas easier to inspect.
-
Shoot RAW when editing flexibility matters, and choose an ISO that supports the shutter speed, aperture, and exposure required by the scene.
-
Plan for large files. Fast storage, structured backups, and an efficient editing workflow help keep high-resolution projects manageable.
Use a Lens Capable of Supporting High-Resolution Capture
Image sharpness is produced by the complete imaging system. The lens determines how much optical detail and contrast reach the sensor, while sensor sampling, focus accuracy, camera stability, processing, and final output determine how clearly that detail appears. A lens that seemed sufficient at smaller output sizes may reveal more of its optical limitations when paired with a higher-resolution sensor and examined at a larger scale.

Collection of Hasselblad lenses arranged against a dark background
Why Edge-to-Edge Performance Can Matter
Edge performance is especially important for architecture, landscape, reproduction, and other subjects that require detail across the complete frame. Evaluate the areas that matter to your own compositions rather than assuming the corners are always the priority. Test a lens at the focal lengths, apertures, and subject distances you actually use. If one side remains consistently softer than the other under controlled conditions, the lens or camera alignment may warrant further inspection.
Finding an Effective Aperture Range
Most lenses have an aperture range that provides a useful balance between optical aberrations, depth of field, and diffraction. The optimum setting can vary with focal length, focus distance, and the part of the frame being evaluated. To assess a lens, photograph a detailed, flat subject at several apertures, keep focus and camera position consistent, and compare the results at the intended output size as well as at close magnification. Diffraction gradually reduces fine-detail contrast as the aperture becomes smaller, but its visible effect depends on the camera, lens, processing, print size, and viewing distance. Choose the smallest aperture only when the required depth of field justifies it.
The XCD 2,8-4/35-100E has an actual focal-length range of 36-97 mm, equivalent to approximately 28-76 mm in the 35mm format. Its optical design uses 16 elements in 13 groups, including three aspherical elements and five ED elements. This construction is designed to control aberrations and support high-resolution capture across the frame throughout a versatile zoom range.
[cta: https://store-na.hasselblad.com/products/xcd-2-8-4-35-100e]
Keep a High-Resolution Camera Steady
Small amounts of camera movement can become easier to see when a high-resolution image is viewed closely or printed large. Stability therefore deserves careful attention, although the shutter speed and support required will depend on focal length, subject movement, stabilization, technique, and final output.
Choose a Shutter Speed for the Subject and Output
The reciprocal rule, such as beginning near 1/80 sec with an 80 mm lens, is a useful handheld starting point rather than a fixed requirement. A faster shutter speed may be needed when the file will be examined closely, the subject is moving, or your technique and shooting position provide limited support. In-body stabilization may allow a slower shutter speed for stationary subjects, but it cannot freeze subject movement. Auto ISO with a suitable minimum shutter speed can help the camera maintain the balance you choose between motion control and noise.
When to Use a Tripod and Stabilization
A sturdy tripod is valuable for long exposures, precise architectural compositions, focus stacking, and other controlled work. Keep the center column low when possible, protect the setup from wind, and add weight only when it can be secured without swinging. Use a self-timer or remote release to minimize physical contact during exposure. Follow the camera manufacturer's guidance for image stabilization on a tripod, since different systems behave differently on stable support. Electronic shutter can remove mechanical movement, but it may introduce rolling-shutter distortion or banding with moving subjects or some artificial light sources.
The X2D II 100C uses five-axis in-body image stabilization rated at up to 10 stops at the image center and up to 8 stops toward the edges under Hasselblad's stated CIPA test conditions. The system can extend the range of shutter speeds that remain usable handheld when the subject and conditions allow. It compensates for camera movement, not subject motion, focus errors, or insufficient depth of field. The camera's self-timer also allows the shutter to be released without touching the body during supported work.
[cta: https://store-na.hasselblad.com/products/x2d-ii-100c]
Refine Focus and Depth of Field
Higher resolution does not reduce optical depth of field. It can, however, make the transition between sharp and unsharp areas easier to see when the image is viewed at high magnification or reproduced at a large size. Precise focus placement therefore becomes especially important when the intended output depends on fine detail.
Focus with Live View for Critical Sharpness
For precise work, use an autofocus area that can be placed directly over the detail that must remain sharp, or magnify live view and focus manually. Focus peaking can help identify areas of local contrast, but it should be treated as a visual aid rather than a guarantee of exact focus. Magnified live view and careful image review remain useful when focus placement is critical.
Balance Depth of Field and Diffraction
Stop down only as far as needed for the intended depth of field, then confirm that focus placement and fine-detail contrast remain suitable at the final output size. When a single exposure cannot provide enough front-to-back sharpness, focus stacking can combine a sequence of images captured at overlapping focus distances. The required number of frames depends on focal length, aperture, subject distance, magnification, and the depth that must appear sharp.

@Benjamin Everett
Shoot RAW and Choose ISO Deliberately
RAW files generally retain substantially more sensor data, bit depth, and editing flexibility than in-camera JPEG files. They can provide greater room to refine exposure, color, highlight detail, and shadow detail that remains within the captured data. RAW cannot restore information that was fully clipped or detail that the lens, focus, and exposure never recorded.
In good light, the camera's base ISO may provide the broadest tonal flexibility, but the lowest ISO number is not always the best practical choice. Use the lowest ISO that still supports the shutter speed, aperture, and exposure required by the scene. Avoid significant underexposure simply to preserve a lower ISO. Noise may appear more prominent when a high-resolution file is viewed at 100 percent, so also judge the result at the intended print or display size. When the subject and workflow allow, expose generously without clipping important highlight information. Use the histogram and highlight warnings as guides, remembering that the in-camera histogram may be based on a processed preview rather than the complete RAW data.
How to Tell Why a Photo Looks Soft
Subject movement, camera movement, and misplaced focus are three common causes of softness. Lens performance, insufficient depth of field, diffraction, atmospheric conditions, filters, and image processing can also influence the result. Examine the pattern of softness across the frame before deciding which adjustment is needed.
Subject Movement, Camera Movement, or Misplaced Focus
Look closely at stationary and moving areas of the frame for evidence of what may have happened:
-
Subject movement. If stationary parts of the scene are sharp but the subject shows directional blur, the subject may have moved during the exposure. A faster shutter speed or a different timing choice may help.
-
Camera movement. Directional blur across stationary parts of the frame may indicate movement during exposure. A faster shutter speed, improved support, stabilization, or a more stable release method may help.
-
Misplaced focus. If the clearest detail lies in front of or behind the intended subject, focus may have been placed on the wrong plane. Refine focus placement and confirm that the selected aperture provides the required depth of field.
If these patterns do not explain the result, consider lens performance, diffraction, atmospheric haze, heat shimmer, filter quality, noise reduction, sharpening, and the final viewing size. Sharpness should be evaluated in the context of the finished image rather than at 100 percent alone.
Make the Most of a High-Resolution Camera
When optics, focus, stability, and exposure are carefully controlled, high resolution becomes practical working space. It can provide greater flexibility for cropping, reframing, detailed retouching, and large output, provided the original capture contains the detail and tonal information the final use requires.
|
What high resolution gives you |
What it means in practice |
|
Cropping flexibility |
Apply a substantial crop while retaining useful output resolution, when the original capture and final use allow. |
|
Larger output |
Support larger prints with fine detail, subject to focus, lens performance, processing, print method, and viewing distance. |
|
Detailed editing |
Retouch and refine at high magnification while preserving a full-resolution master for future output. |
Used with intention, resolution becomes creative flexibility rather than simply a larger file.
Plan for Bigger Files and Storage
High-resolution capture often produces larger files, so storage and workflow should be considered before the shoot. File size varies by camera, format, bit depth, compression, and image content, but the cumulative storage requirement can become substantial over a long session or multi-day project.
Storage and Backup
Use media with the capacity and sustained performance recommended for the camera. For important work, the 3-2-1 principle provides a useful backup framework: maintain three copies, store them on at least two types of media, and keep one copy off-site. Transfer files into a structured backup system as soon as practical rather than treating in-camera storage or a single memory card as an archive.
A Smoother Editing Workflow
High-resolution files can place greater demands on storage, memory, processor performance, graphics hardware, and editing software. A fast SSD for active work, adequate RAM, and a computer suited to the complexity of the project can improve responsiveness. Standard previews, smart previews, or proxy-based workflows may also reduce the processing load when reviewing and editing large groups of images.
The X2D II 100C includes a 1TB internal SSD with write speeds of up to 2,370 MB/s and read speeds of up to 2,850 MB/s, along with support for CFexpress Type B cards. The internal capacity can reduce storage interruptions during many shooting sessions. Phocus Mobile 2 supports wireless image transfer and can wake the camera while it is powered off. These functions can simplify review and transfer, but transferred files should still be incorporated into a redundant backup system.
Frequently Asked Questions
Can You Handhold a High-Resolution Camera?
Yes. A high-resolution camera can be used handheld effectively when shutter speed, subject movement, focus, technique, and stabilization are appropriately managed. Evaluate the result at the intended output size, and use support when the scene or required precision exceeds what can be held consistently.
Do I Need to Upgrade My Lenses for a High-Resolution Camera?
Not always. A higher-resolution sensor may reveal more of a lens's optical limitations, especially when files are inspected closely or printed large. Test your existing lenses at the focal lengths, apertures, focus distances, and output sizes that matter to your work before deciding whether an upgrade is necessary.
Why Do My High-Resolution Photos Look Soft at 100 Percent?
Viewing at 100 percent displays each image pixel directly, making small amounts of movement, focus error, optical softness, noise, and processing easier to see. Diagnose the cause, but also judge the photograph at its intended print or display size rather than relying on 100 percent inspection alone.
Does a Higher-Resolution Camera Perform Worse in Low Light?
Not necessarily. Low-light quality depends on total sensor area, exposure, read noise, photosite design, lens aperture, stabilization, processing, and final output size. A high-resolution file may show more per-pixel noise at close inspection while still producing a strong result after it is evaluated or resized for the intended output.
Do High-Resolution Files Slow Down Editing?
They can. Larger files may increase storage, preview, masking, retouching, and export demands. Fast working storage, sufficient memory, suitable processor and graphics performance, and an efficient preview workflow can keep editing responsive.
The Bottom Line
A high-resolution camera does not create sharp photographs on its own. It records the information delivered by the lens, focus, exposure, camera support, and subject. When those elements are carefully controlled, resolution can preserve fine textures, subtle transitions, and the flexibility required for cropping and large output.
High-resolution photography rewards observation and precision. It asks the photographer to understand the complete imaging process, then provides a file with the space to preserve detail, refine the composition, and return to the image over time.